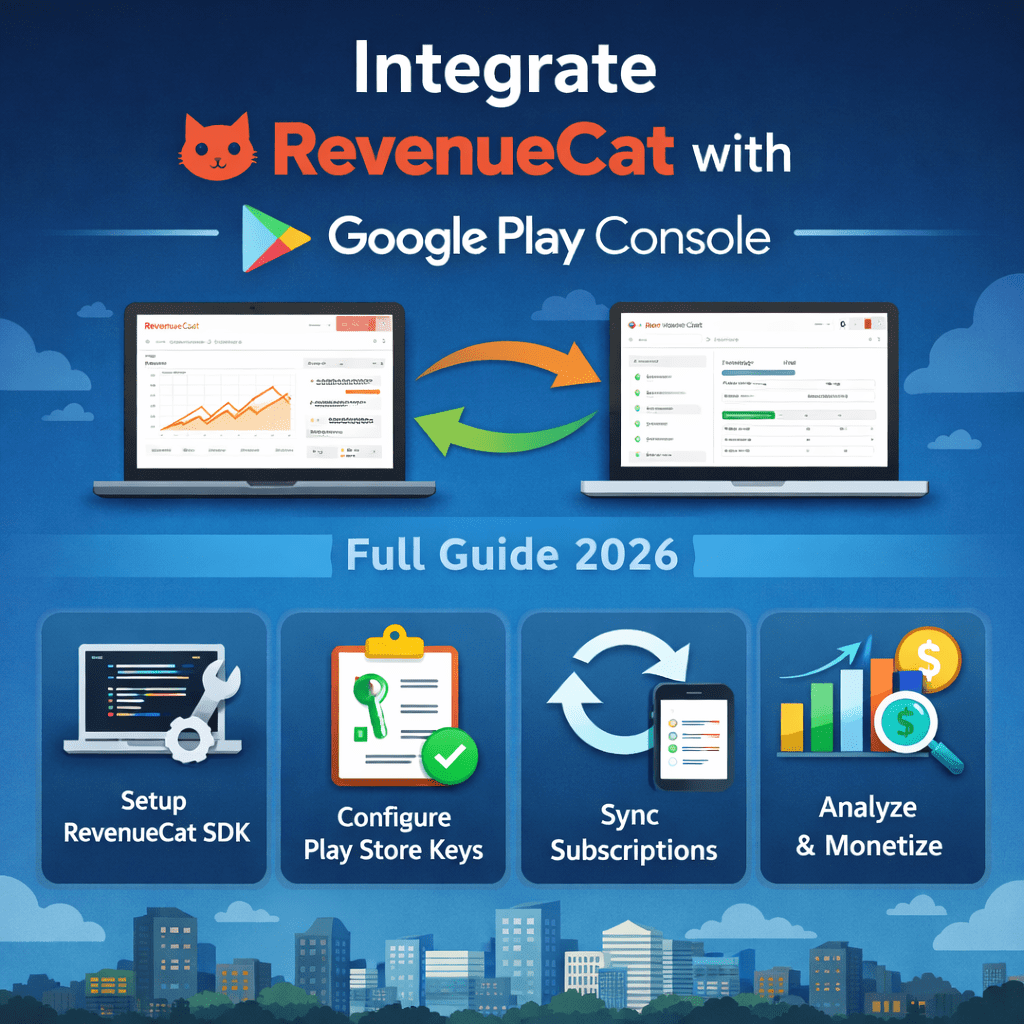
Integrate RevenueCat with Google Play Console – Full Guide 2026
RevenueCat is the industry-standard SDK for managing in-app subscriptions and purchases. This guide walks you through every step — from creating a service account in Google Cloud to making your first purchase in a test environment — so you never have to guess what comes next.
Handling subscriptions natively with the Play Billing Library is painful: server-side receipt validation, webhook handling, proration logic, refund tracking. RevenueCat abstracts all of that into a clean SDK with a real-time dashboard. Let’s connect it to your Google Play app.
1. Create a RevenueCat accout and project
Go to app.revenuecat.com and sign up for a free account. Once logged in, click + New Project and give it a name that matches your app (e.g., “MyApp Production”).
Inside your new project, navigate to Apps in the left sidebar and select Google Play Store. You’ll land on a configuration screen — leave it open. You’ll need it in Step 4.
Your RevenueCat project can support both Android and iOS apps. You only need one project for your entire app — add platforms inside it, not as separate projects.
2. Link Google Play to Google Cloud Console
RevenueCat needs a service account with permission to access your Play purchases. This is done through Google Cloud, not Play Console directly. Here’s the exact path:
- Go to console.cloud.google.com and select or create a project linked to your Play account
- In the search bar, find and enable the Google Play Android Developer API
- Navigate to IAM & Admin → Service Accounts
- Click Create Service Account and give it a descriptive name like “revenuecat-service”
- Skip the optional role assignment for now — roles are granted from Play Console side
- Click Done to save the service account
Important: The Google Cloud project must be linked to the same Google account that owns your Play Developer account. Mismatched accounts is the #1 cause of API permission errors.
3. Generate and download a JSON key
Still in Google Cloud Console, open your newly created service account. Go to the Keys tab and click Add Key → Create new key. Choose JSON and click Create.
A .json file will download automatically. This file contains your private credentials — treat it like a password. You’ll upload it to RevenueCat in Step 4.
Never commit this JSON file to Git. Add it to .gitignore immediately and store it in a secrets manager like 1Password or AWS Secrets Manager.
4. Grant Play Console permissions to your service account
Go to play.google.com/console. In the left sidebar, navigate to Setup → API access. You should see your Google Cloud project listed (because you linked them). Click Grant access next to your service account email.
In the permissions dialog, assign these specific permissions:
- View app information and download bulk reports (read)
- View financial data, orders, and cancellation survey responses
- Manage orders and subscriptions
RevenueCat’s documentation recommends exactly these three permissions — no more, no less. Granting “Admin” access works but violates the principle of least privilege.
Click Invite user (even though it’s a service account, Play Console treats it like a user invitation). The account should now appear in your Play Console user list.
5. Upload credentials to RevenueCat
Return to your RevenueCat dashboard. On the Google Play app configuration screen from Step 1, you’ll see a field for Service Account credentials JSON. Paste the entire contents of the JSON file you downloaded in Step 3.
Package name
com.yourcompany.yourapp
Service account key
Paste full JSON contents
Also fill in your app’s package name — this must exactly match the application ID in your build.gradle. Click Save changes when done.
If the credentials are valid, RevenueCat will show a green checkmark confirming the connection. If you see an error, the most common fixes are: waiting 24–48 hours for Play Console permissions to propagate, or re-checking the service account email is the right one.
6. Create products in Google Play Console
Before your app can sell anything, you need to create products in Play Console. Navigate to your app → Monetize → Products. You can create two types:
- Subscriptions — recurring billing (monthly, annual, etc.)
- In-app products — one-time purchases or consumables
For each subscription, set a Product ID (e.g., premium_monthly), pricing, billing period, and free trial settings. Product IDs cannot be changed after creation — choose them carefully using snake_case.
Important: Products only become available after your app has been published to at least an internal testing track. You cannot test purchases on a local debug build without this.
7. Set up Entitlements and Offerings in RevenueCat
Entitlements define what a customer gets when they pay — like “premium_access”. Offerings are the paywalls you show to users, containing packages that map to Play products.
In RevenueCat dashboard → Entitlements: create an entitlement (e.g., premium) and attach your Google Play product IDs to it.
Then go to Offerings: create a default offering, add packages (monthly, annual), and link each package to the corresponding Play product ID. This mapping is what RevenueCat uses when your app calls getOfferings().
The entitlement/offering system means you can change your pricing or products from the dashboard without a code change or app update. This is one of RevenueCat’s biggest advantages.
8. Install the RevenueCat SDK in your Flutter app
Add the dependency to your pubspec.yaml:
# pubspec.yaml dependencies: purchases_flutter: ^7.0.0Run flutter pub get to install. No native Android configuration is needed — the SDK handles that automatically.
Make sure your android/app/build.gradle has a minimum SDK version of 24 or higher:
android { defaultConfig { minSdkVersion 24 } }9. Initialize and configure the SDK
In your app’s entry point (typically main.dart or your root widget’s initState), configure RevenueCat with your API key:
import 'package:purchases_flutter/purchases_flutter.dart'; Future<void> main() async { WidgetsFlutterBinding.ensureInitialized(); await Purchases.setLogLevel(LogLevel.debug); // remove in prod PurchasesConfiguration config = PurchasesConfiguration( 'goog_your_public_api_key_here', ); await Purchases.configure(config); runApp(MyApp()); }Find your public API key in RevenueCat dashboard → Project Settings → API keys. The Android key starts with goog_. Never use your secret key in client code.
10 Fetch offerings and display your paywall
Use getOfferings() to retrieve the packages you configured in the dashboard and display them in your UI:
try { Offerings offerings = await Purchases.getOfferings(); if (offerings.current != null) { Package? monthly = offerings.current!.monthly; Package? annual = offerings.current!.annual; // render your paywall UI here } } on PlatformException catch (e) { // handle errors gracefully }To initiate a purchase when a user taps “Subscribe”:
CustomerInfo customerInfo = await Purchases.getCustomerInfo(); bool isPremium = customerInfo.entitlements.active.containsKey('premium'); if (isPremium) { // user has active subscription — grant access } else { // show paywall or free tier }RevenueCat automatically handles grace periods, billing retries, and subscription renewals. You don’t need to write any of that logic yourself.
Do not test purchases on a debug APK installed via flutter run. The Play Billing Library requires an app installed through the Play Store for purchases to work correctly.
11 . Test with Google Play internal testing
To test real purchases without being charged, use Google Play’s license testing feature. In Play Console → Setup → License testing, add your Gmail address as a license tester.
License testers can make purchases that go through the full payment flow but are automatically refunded. Your RevenueCat dashboard will show these purchases as real events.
- Your app must be published to an internal testing track first
- Install the app from the Play Store (not a local debug build)
- Sign into the device with your license tester Gmail account
- Purchases will show “Test” badge during checkout
✓ You're live — what to do next
With RevenueCat connected, you have access to a powerful analytics layer: MRR, churn, trial conversion, cohort analysis — all without writing backend code.

Set up webhooks (RevenueCat → Integrations) to notify your backend when subscriptions change. This lets you sync subscription state to your own database or trigger emails.

Consider enabling RevenueCat's Paywalls feature — pre-built, remotely configurable paywall UIs you can A/B test without app updates. It's one of the fastest ways to increase conversion.

Monitor the Charts section in your RevenueCat dashboard weekly. Active subscriptions, churn rate, and revenue by product are the three numbers that matter most early on.
Watch on Youtube Full Vedio :