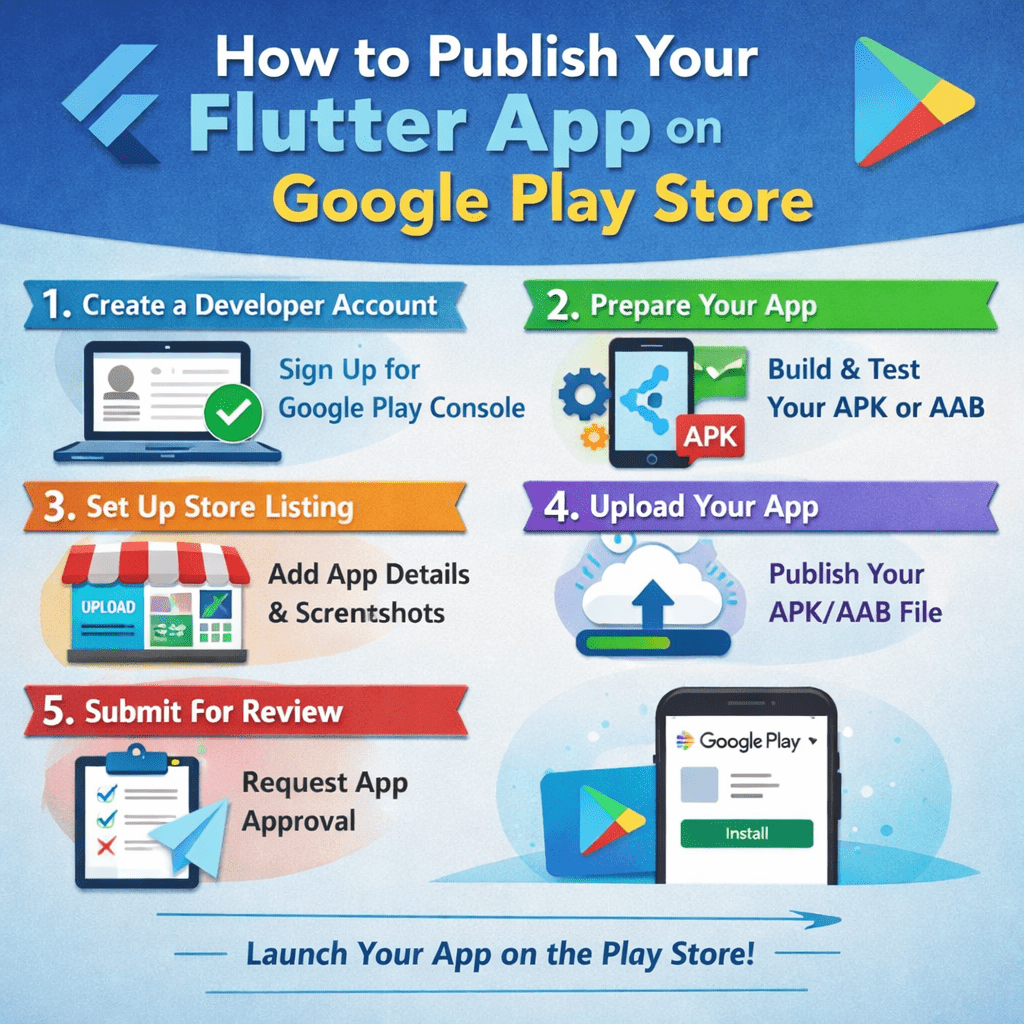
You’ve built a Flutter app that works beautifully. Now it’s time to share it with the world. Publishing on Google Play might feel overwhelming at first — signed keystores, release builds, store listings — but this guide breaks it all down into clear, actionable steps.
Flutter makes cross-platform development a joy, but shipping to production requires a few Android-specific steps most tutorials gloss over. By the end of this guide, your app will be live on the Google Play Store — ready for millions of users to download.
1. Create a Google Play Developer Account
Before anything else, you need a Google Play Developer account. Head to play.google.com/console and sign in with a Google account. You’ll pay a one-time registration fee of $25 USD — this unlocks the ability to publish unlimited apps forever.
Once registered, fill in your account details including your developer name, email address, and website (optional). This information appears publicly in the Play Store next to your apps.
Note: Use a dedicated Google account for your developer profile — not a personal one. This keeps business and personal activities cleanly separated.
2. Prepare Your Flutter App for Release
Your development build and release build are very different things. A release build strips out debugging info, enables code shrinking, and signs the APK or App Bundle with your unique key. Let’s configure it.
Update your app version in pubspec.yaml. The version string uses the format version: major.minor.patch+buildNumber:
version: 1.0.0+1The number after + is the internal build number that Google Play uses to distinguish releases. Increment it with every upload.
Review your app name and package name in android/app/build.gradle. Your application ID (package name) must be globally unique — something like com.yourcompany.yourapp. You cannot change this after publishing, so choose carefully.
Best practice
Remove any debug-only code, mock data, or test credentials before building for release. Use Flutter’s kReleaseMode flag to guard debug-only blocks.
3.Generate a Signing Keystore
Every Android app published on Google Play must be digitally signed. This proves the app genuinely comes from you. You’ll generate a keystore file — keep it safe and back it up; losing it means you can never update your app.
Run this command in your terminal (replace the placeholder values):
keytool -genkey -v -keystore ~/upload-keystore.jks \
-storetype JKS \
-keyalg RSA \
-keysize 2048 \
-validity 10000 \
-alias upload \
-storepass your_store_password \
-keypass your_key_password
ou’ll be prompted for your name, organization, city, and country. Fill these in — they’re embedded in the certificate but aren’t visible to end users.
Critical: Never commit your .jks keystore file or passwords to a public Git repository. Add *.jks to your .gitignore immediately.
4. Configure Signing in Your Flutter Project
Now link your keystore to your Flutter app. Create a file at android/key.properties with your signing credentials:
storePassword=your_store_password
keyPassword=your_key_password
keyAlias=upload
storeFile=/Users/yourname/upload-keystore.jks
Next, update android/app/build.gradle to read this file and apply signing to release builds:
def keystoreProperties = new Properties()
def keystorePropertiesFile = rootProject.file('key.properties')
keystoreProperties.load(new FileInputStream(keystorePropertiesFile))

android {
...
signingConfigs {
release {
keyAlias keystoreProperties['keyAlias']
keyPassword keystoreProperties['keyPassword']
storeFile file(keystoreProperties['storeFile'])
storePassword keystoreProperties['storePassword']
}
}
buildTypes {
release {
signingConfig signingConfigs.release
}
}
}
5. Build Your Release App Bundle
Google strongly recommends publishing as an Android App Bundle (.aab) rather than a plain APK. App Bundles let Google Play deliver optimized APKs tailored to each device — smaller downloads, faster installs.
Build your release bundle with:
flutter build appbundle --releaseWhen it finishes, you’ll find your bundle at:
This is the file you’ll upload to the Play Console. Run it through a quick sanity check first — you can use bundletool to simulate how Play would split it for different devices.
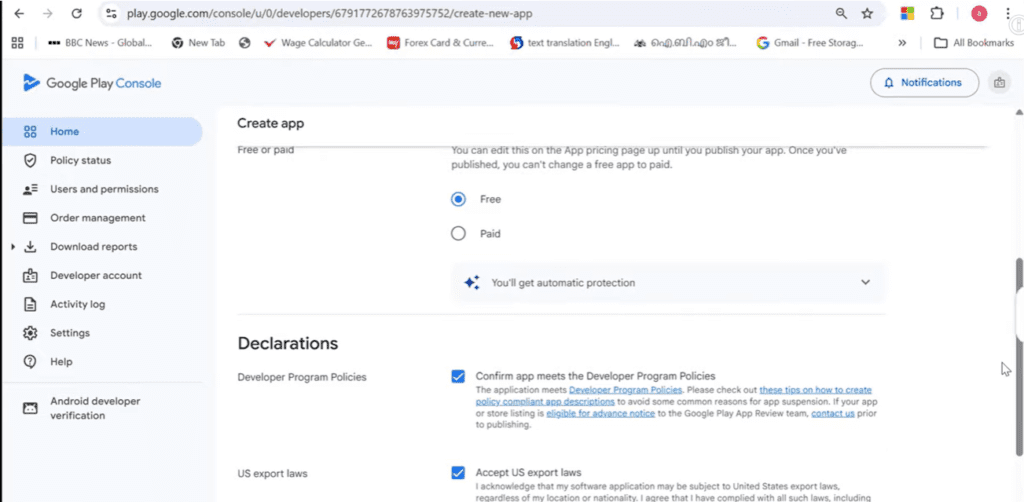
6.Set Up Your App in Play Console
Log in to the Google Play Console and click Create app. Fill in:
- App name (what users see in the store)
- Default language
- App or Game (choose App)
- Free or Paid
- Declarations about content (you must agree to Play’s policies)
After creation, you’ll land on the app dashboard. The left sidebar shows a checklist of everything needed before you can publish. Work through it systematically — don’t skip sections, even ones that seem optional.
7. Complete Your Store Listing
Your store listing is your app’s storefront — it directly affects how many people download your app. Invest real time here.
App description: Write a short description (80 characters max) and a full description (4,000 characters max). Lead with the most compelling benefit. Use natural language — users skim, not read.
Screenshots: Upload at least 2 screenshots for phone. High-quality, annotated screenshots dramatically increase conversion rates. Recommended size is 1080 × 1920 px.
Feature graphic: A 1024 × 500 px banner image shown at the top of your listing in some contexts. Make it eye-catching and representative of your app’s purpose.
App icon: 512 × 512 px PNG. This must exactly match the icon bundled in your app. A blurry or mismatched icon signals poor quality to users.
Pro tip
Study the top 10 apps in your category. Notice what their screenshots, icons, and descriptions have in common. Your store listing competes directly against them for attention.
8. Fill In App Content Details
Google requires you to declare what your app does and who it’s for. Navigate to Policy → App content and complete:
- Privacy policy URL (required for all apps)
- Ads declaration (does your app show ads?)
- Content rating questionnaire (generates your age rating)
- Target audience and content settings
- Data safety section (what data you collect and why)
The Data safety section deserves careful attention. List every type of data your app collects — location, email, device identifiers, etc. Inaccurate declarations can result in your app being removed.
9. Upload Your App Bundle and Create a Release
Navigate to Testing → Internal testing (or Production if you’re ready to go live). Click Create new release.
Upload the app-release.aab file you built earlier. Google Play will process it — this takes a minute or two. Once processed, you’ll see your version code and name confirmed.
Add release notes in the What’s new field. Even for your first release, write something like “Initial release — [one sentence about what your app does].” Users read this to decide whether to update.
Click Save, then Review release. Fix any warnings shown (they’ll flag things like missing translations or policy issues). Then click Start rollout.
10. Pass the Review and Go Live
Google reviews all apps before they appear in the Play Store. First-time submissions typically take 1–3 days, though it can be faster or slower. You’ll receive an email when the review completes.
During this time, Google checks that your app complies with their policies, the content rating is accurate, and the app functions as described. If your app is rejected, you’ll receive specific reasons — fix the issues and resubmit.
Once approved, your app goes live in the Play Store. Search for it by package name or app name to confirm it’s visible.
You’re live — now what?
Publishing is just the beginning. Set up crash reporting with Firebase Crashlytics to catch production bugs before users complain. Monitor your Android Vitals dashboard in Play Console — ANRs, crash rates, and battery behavior all affect your Play Store ranking.
Plan your first update before you even launch. Apps with regular updates signal to users (and Google’s algorithm) that you’re actively maintaining your product. A cadence of one meaningful update every 4–6 weeks is a solid starting point.
Respond to user reviews — especially negative ones. A respectful, helpful reply to a 1-star review often gets converted to 4–5 stars. It also shows prospective users that a real team cares about the product.
Happy shipping — your app is now in the hands of the world.